Web Design, Hosting, and SEO Blog
 Installing WordPress manually is a valuable skill for web developers and enthusiasts who prefer full control over the installation process. This guide will walk you through the necessary steps to download WordPress, set up a MySQL database, upload files to your server, and configure your WordPress installation. Whether you’re working on a live server or a local machine, understanding the manual installation process can help you troubleshoot common issues and ensure a secure and optimized WordPress setup.
Key Takeaways
- Preparing for WordPress installation requires downloading the latest WordPress package, setting up a MySQL database, and accessing an FTP client.
- The manual installation process involves uploading WordPress files to your server, creating a database and user, and running the installation script.
- After installation, you can select and install a WordPress theme by navigating to the theme dashboard, browsing themes, and customizing your choice.
- WordPress can be installed on various platforms, with options for one-click installations via hosting providers or manual installations on local machines.
- Frequently asked questions cover topics such as installing WordPress on localhost, moving WordPress to a live server, and updating and maintaining security.
Preparing for WordPress Installation

Download the Latest WordPress Package
Getting started with WordPress begins with a simple download. We’ll head over to the official WordPress.org website and grab the latest version. This ensures we have all the newest features and security updates.Here’s how we do it:- Navigate to wordpress.org/download/
- Click the button to download the latest WordPress package
- Save the file to a convenient location on your computer
- Unzip the downloaded file to a folder of your choice
Once we have the WordPress package downloaded, we’re ready to take the next step towards creating our website. This is where the real fun begins, as we prepare to upload the files to our server and start shaping our digital presence.
Setting Up Your MySQL Database
Before we can get WordPress up and running, we’ll need to set up a MySQL database. This is where all of our website’s data will be stored, from posts and pages to user information. Creating a MySQL database is a critical step in the installation process, and here’s how we do it in a nutshell:- Log into your hosting account’s control panel.
- Find and open the MySQL databases section.
- Choose a unique name for your database and create it.
- Create a MySQL user with a strong password for security.
- Add this user to your database and assign ‘All Privileges’ for full access.
Once you’ve set up your database, make sure to note down the database name, username, and password. You’ll need these details when you configure the wp-config.php file in the WordPress files you’ve uploaded.After you’ve secured your database details, it’s time to tweak the WordPress configuration file. Locate the
wp-config-sample.php file in your WordPress files, rename it to wp-config.php, and open it in a text editor. Here’s a quick guide on what to replace:| Placeholder | Your Detail |
|---|---|
| database_name_here | Your database name |
| username_here | Your MySQL username |
| password_here | Your MySQL password |
| localhost | Your database host |
Accessing Your FTP Client
Once you’ve got your MySQL database set up, it’s time to move on to the next step: accessing your FTP client. This is where the magic happens, folks! We’ll be transferring the WordPress files to our web server, and it’s simpler than you might think. First things first, you’ll need to grab an FTP client. There are plenty of good ones out there, but we’re fans of FileZilla and WinSCP for their ease of use.After installing your FTP client, you’ll need to enter a few key details to connect to your server. Here’s a quick rundown:- FTP username
- FTP password
- Hostname (this could be your site’s URL or an IP address)
- Port number (usually it’s 21 for FTP)
Executing the Manual Installation Process
Uploading WordPress Files to Your Server
Once you’ve got the latest WordPress package downloaded, it’s time to get those files up on your server. We’ll be using an FTP client for this part, so make sure you have your FTP credentials handy. You’ll need your FTP username, password, hostname, and the port number, which is usually 21 for FTP connections.Here’s a quick rundown of the steps:- Connect to your server using your FTP client.
- Navigate to the root directory or the subdirectory where you want WordPress to live.
- Upload the WordPress .zip or .tar file.
- If necessary, extract the files right there on the server.
After uploading, you’ll find a file named wp-config-sample.php in the root directory. You’ll need to configure this file later on to set up your connection to the MySQL database.Once you’ve completed these steps, you’re well on your way to having WordPress installed. It’s a straightforward process, and before you know it, you’ll be running the installation script and setting up your admin account. And hey, if you’re hosting with us at Websnoogie, you could have used our one-click installer and had WordPress set up in just two minutes. But we understand some folks love the control that comes with a manual installation.
Creating the WordPress Database and User
Alright, folks, we’ve reached a crucial step: setting up the MySQL database and user for your WordPress site. This is where your site’s content and settings will live, so let’s get it right.First up, you’ll need to dive into your hosting account’s control panel. Look for the MySQL databases section and create a new database. Remember to pick a unique name for your database to avoid any mix-ups. Next, you’ll want to create a MySQL user with a strong password—security is key here!Once you’ve got your user, it’s time to give them full access to the database by assigning All Privileges. This allows your WordPress to perform all the necessary operations without a hitch.Now, with your database and user ready to go, you’re one step closer to launching your site. Just make sure to keep the details handy—you’ll need them for the next part of the installation.Here’s a quick rundown of the steps you’ve just completed:
- Log into your hosting control panel.
- Navigate to the MySQL databases section.
- Create a new database with a unique name.
- Create a MySQL user and set a strong password.
- Assign All Privileges to the user for the database.
Running the WordPress Installation Script
After uploading the WordPress files, it’s time to kick things off. Simply type your domain into your browser, and like magic, the WordPress installation wizard appears. You’ll be greeted with a language selection screen, and then it’s on to setting up the all-importantwp-config.php.At this stage, you’re just a few clicks away from having your very own WordPress site up and running. The wizard is user-friendly and will guide you through the process.Now, let’s get your site details sorted. You’ll be asked to enter your site title, create an admin username, conjure up a secure password, and provide an email address. Here’s a quick rundown of what you’ll need to fill in:
- Site Title: The name of your website.
- Admin Username: Choose a unique username for managing your site.
- Password: Create a strong password to keep your admin account secure.
- Your Email: Enter your email address to receive notifications.
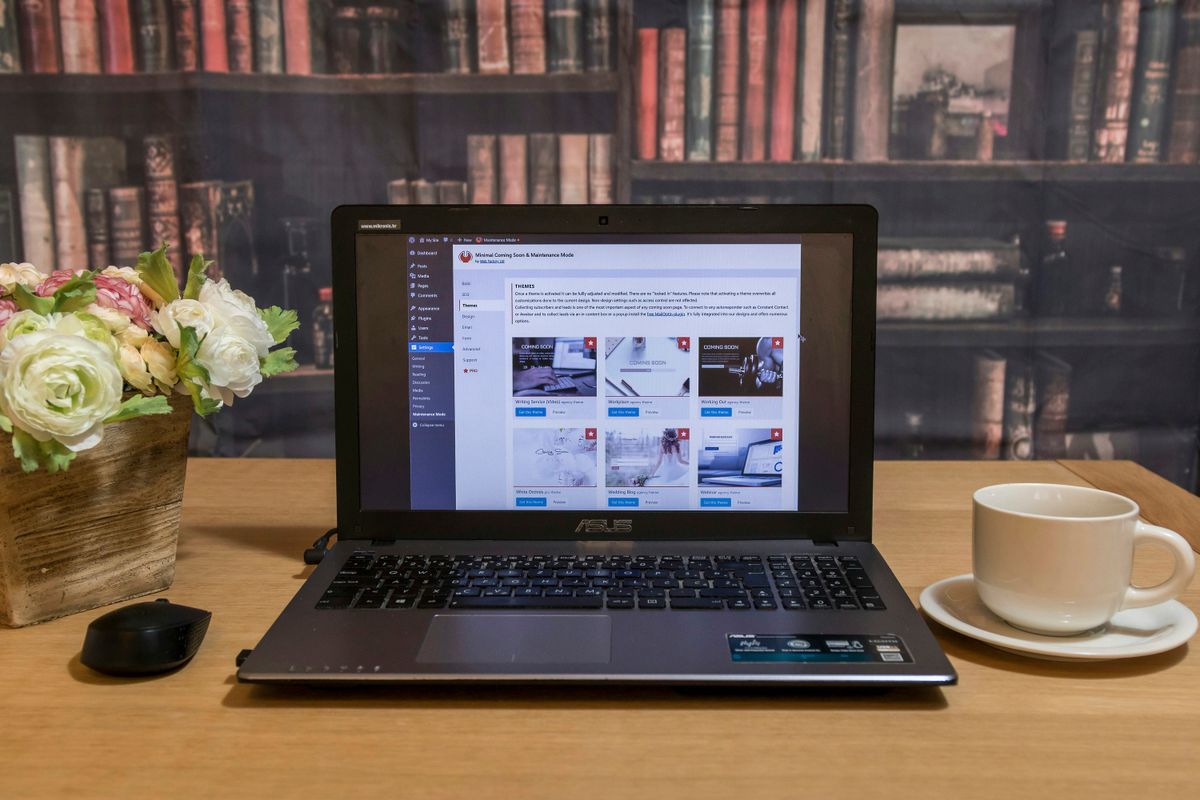
Selecting and Installing Your WordPress Theme

Navigating to the Theme Dashboard
Once we’ve got WordPress installed, it’s time to make our website look stunning, and that starts with picking the perfect theme. Head over to the ‘Appearance’ section in your WordPress admin dashboard and click on ‘Themes’. This is where the magic happens! You’ll find yourself in the theme dashboard, a treasure trove of design possibilities.Here’s a quick rundown of what to do next:- Click on ‘Add New Theme’ to explore the vast collection of free themes.
- Use the feature filters or search bar to narrow down your choices.
- Hover over a theme that catches your eye and hit ‘Preview’ to get a sneak peek.
- Found ‘The One’? Click ‘Install’ to add it to your site.
After the installation, an ‘Activate’ button will show up. Give that a click, and voilà, your site’s got a brand new look!Remember, the theme you choose sets the tone for your entire website, so take your time browsing. And don’t worry, if you decide to switch things up later, changing your theme is just as easy.
Browsing and Installing Themes
Once you’ve found your way to the theme dashboard, it’s time to dive into the sea of creative possibilities. We’re on the lookout for a theme that not only resonates with our brand but also stands out in the realm of web design in Omaha. With thousands of themes at your fingertips, you can filter by popularity, latest releases, or specific features that align with your website’s needs.- Navigate to ‘Appearance’ > ‘Themes’ in your WordPress Dashboard.
- Click on ‘Add New’ to explore the theme directory.
- Use the feature filters or search bar to find your ideal theme.
- Hover over a theme to see the ‘Preview’ button, giving you a glimpse of how it will look live.
- Once you’ve made your choice, click ‘Install’ to add the theme to your site.
After installation, the ‘Activate’ button will beckon you to bring the theme to life on your site. It’s a simple click away, and voilà, your digital space begins to embody the essence of your vision.Remember, the theme you choose is the foundation of your site’s aesthetic. It’s crucial to select one that not only looks good but is also functional and responsive. If you ever feel stuck, our friendly support team is here to help guide you through the process.
Customizing Your New Theme
Once you’ve activated your new theme, it’s time to make it truly yours. Dive into the theme customizer by clicking on the Customize link under the Appearance menu. This is where the magic happens, and you can tailor your site’s appearance to match your unique style. Whether you’re part of the Omaha web design scene or making waves in Nebraska web design, these tools are your creative playground.Here’s a quick rundown of what you can tweak:- Colors and fonts to reflect your brand
- Layouts to enhance user experience
- Widgets and blocks for added functionality
If you’re using a full-site editing theme, you’ll find a more comprehensive editor that allows you to overhaul your site’s look. This editor is accessible via the Editor link under Appearance.Remember, as an Omaha web designer, your website is often your first impression. Take the time to customize your theme so that it stands out and truly represents your vision. After all, your website is the digital face of your brand.
Understanding WordPress Installation on Different Platforms

One-Click Installation via Hosting Providers
We’ve all been there, excited to launch a new website and eager to dive into the world of WordPress. Good news for our fellow Omaha, Nebraska web developer friends and clients: the one-click installation option is a breeze! Many hosting providers simplify the process with tools like cPanel or Plesk, making it almost as easy as pie.Here’s a quick rundown of the steps you’ll typically follow:- Log in to your hosting control panel.
- Locate the WordPress installer tool.
- Click on the installer and follow the on-screen prompts.
Once you’ve completed these steps, you’ll receive confirmation and your WordPress login credentials. It’s that straightforward—no fuss, no muss!This approach is perfect for those who prefer a hands-off installation. It’s quick, efficient, and lets you focus on the more exciting aspects of setting up your site. If you’re looking for a more hands-on experience, though, stick around as we delve into the manual installation process next.
Manual Installation on Local Machines
Installing WordPress locally is a fantastic way to experiment, develop, and learn without the risk of affecting a live site. We’ll walk you through the steps to get WordPress up and running on your own computer. First, you’ll need a local server environment, like WAMP for Windows or MAMP for Mac. Once that’s set up, follow these simple steps:- Download the latest WordPress package from the official website.
- Extract the files into your local server environment.
- Create a MySQL database for WordPress using tools like phpMyAdmin.
- Access your localhost in a web browser to run the WordPress installation script.
By following these steps, you’ll have a fully functional WordPress installation on your local machine, ready for you to test out themes, plugins, and custom code to your heart’s content.After you’ve mastered the local setup, you might want to take your site live. We’ve got you covered with instructions on deactivating and deleting WordPress plugins from the dashboard, and we offer additional articles on WordPress management and support services.
Troubleshooting Common Installation Issues
Encountering hiccups during the WordPress installation isn’t uncommon, but don’t worry, we’ve got your back! Most issues can be resolved with a few checks and tweaks. For instance, if you’re staring at the dreaded White Screen of Death, it’s likely a PHP error. Dive into your error logs for clues or consider upping the memory limit in yourwp-config.php file.Here’s a quick rundown of common snags and their fixes:- Incorrect File Permissions: Directories should be at
755and files at644. - Database Connection Errors: Verify your
wp-config.phpdatabase details. - Installation Stalls: Restart the process or reach out to your hosting provider.
While these tips should help iron out most kinks, remember that a secure and regularly backed-up WordPress is a happy WordPress. Take the time to set up proper security measures and schedule those backups!If you’re still stuck after these steps, our WordPress Tutorials might offer the guidance you need. And of course, our team is always here to help you through any rough patches. Just drop us a line!
Frequently Asked Questions About WordPress Installation

Installing WordPress on Localhost
Installing WordPress on your local machine is like setting up your own private playground. It’s perfect for experimenting with plugins, themes, or any major changes without the risk of breaking your live site. Here’s how we can get started:- Download a software stack such as WAMP for Windows or MAMP for Mac.
- Grab the latest WordPress package from the official website.
- Unzip the WordPress files into your local server environment.
- Create a database for WordPress using tools like phpMyAdmin.
- Access your localhost in a web browser and run the WordPress installation script.
This local setup is ideal for developers, or if you’re just keen on learning the ins and outs of WordPress. It’s a sandbox where you can freely play around, test, and learn without any online consequences.Once you’ve mastered the local installation, you’ll feel more confident about running WordPress anywhere. And if you ever need a hand, we’ve got a wealth of WordPress tutorials to help you out. Plus, our expertise in web design, SEO, and hosting services ensures you’re never alone on your WordPress journey.
Moving WordPress from Localhost to Live Server
Once you’ve got the hang of WordPress on your local machine, it’s time to take the leap and move your site to a live server. This process involves a few key steps to ensure a smooth transition. First, you’ll need to export your local WordPress database – this contains all your website’s vital information.Next, you’ll upload the WordPress files to your new hosting environment. Using an FTP client, connect to your live server and transfer all the files from your local site to the server. It’s crucial to maintain the directory structure to avoid any hiccups.After transferring the files, you’ll import the database you exported earlier into the new hosting environment. Adjust thewp-config.php file to match your live server’s database settings. Finally, update the URLs within your database to reflect your live domain instead of the localhost.It’s essential to test your website after migration to ensure everything is functioning as expected. Check your links, images, and content to confirm they’re all displaying correctly on the live server.Here’s a quick checklist to keep track of the process:
- Export local WordPress database
- Upload WordPress files to live server
- Import database to new hosting environment
- Update
wp-config.phpwith live server details - Change URLs from localhost to live domain
- Test the website thoroughly
Updating WordPress and Maintaining Security
Keeping your WordPress site up-to-date is crucial for security and functionality. Regular updates patch vulnerabilities and bring new features. Here’s a simple checklist to help you maintain a secure WordPress environment:- Update WordPress core, themes, and plugins as soon as new versions are released.
- Implement strong passwords and change them periodically.
- Install and configure a reputable security plugin.
- Set up and monitor a firewall to protect against unauthorized access.
- Regularly back up your site to prevent data loss in case of an attack.
By staying vigilant and proactive, we can ensure our WordPress site remains a safe place for our users and ourselves. It’s not just about installing updates; it’s about creating a culture of security within our team.Remember, a secure site is a reliable site. Let’s make sure we’re doing everything we can to protect our online presence and the trust of our visitors.Looking for answers to your WordPress installation queries? Dive into our comprehensive FAQ section where we address all your concerns. Whether you’re a beginner or an experienced user, our expert insights will guide you through the process. Don’t hesitate to reach out for personalized assistance or explore our full range of web design and hosting services.